-
Services
-
 Content Marketing Strategy and Creation Build foundations, become irresistible, and magnify your reach.
 -
 Website Design and HubSpot CMS Transform your online presence, get your name out there, and become a sales magnet.
 -
 HubSpot Marketing Hub Implementation Manage all campaign tools and all customer data conveniently in one place.
 -
 HubSpot Sales Hub Implementaion Unearth client needs, deepen relationships, and operate cost-efficiently, with ease.

HubSpot Demo
What makes HubSpot shine among CRM platforms? And how can it translate into higher profits for your business?
See why it pays off to choose HubSpot: less hassle, greater control, higher revenues. -
-
Case Studies
-
 Everfield | +500 custom reports, 5 hours/month saved per company Read how we helped Everfield standardize CRM operations across its company ecosystem.
 -
Pwrteams | 245% rise in organic traffic, +751% blog visits Explore how strategic content and web design boosted Pwrteams' exposure.
-
Consafe Logistics | 415% growth in conversions See how our HubSpot CMS Hub website redesign has unlocked more sales.
-
Flobotics | +3000 new unique visitors, +10% monthly blog traffic Discover how Flobotics amplifies its content marketing results with 6Minded.
-
The Doctors Answer | 400% more leads, 38% ROI increase See how TDA skyrocketed customer base with our Content Marketing Strategy.
-
TSR Poland | +60,000 client records combined into a single database Check out how a unified CRM platform empowers TSR Poland's sales operations.
-
Ardigen | Saving 10 hours/month per sales person Learn how bringing order to Ardigen's data freed up and empowered their sales.
-
View all case studies

Building an award-winning website
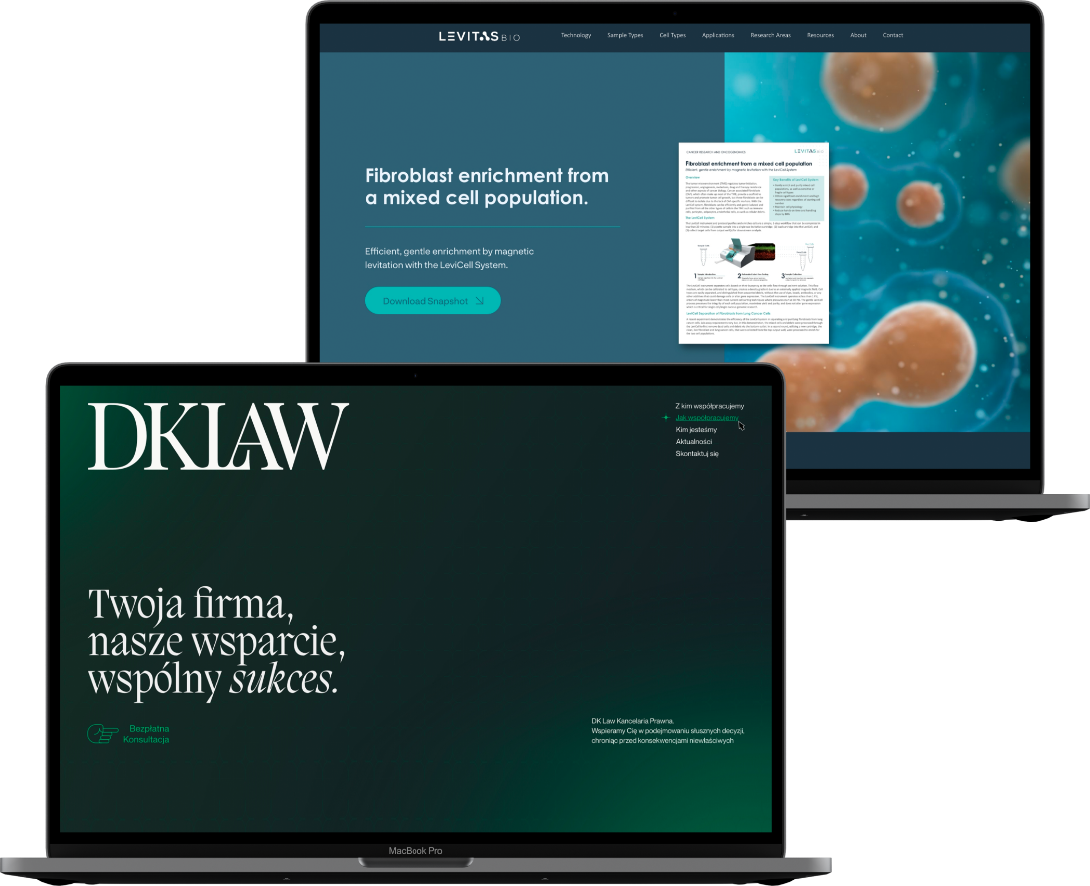
When a leader in logistics solutions, Consafe Logistics, outgrew its old website, it was time to revamp. With style!
The new, functional website built by 6Minded helped accommodate expanding audience and showcase its innovative solutions, exceeding all expectations.
With 60% increase in contacts through the new websites and manifold boost in conversions, our joint work was rewarded by HubSpot with a 2023 Impact Award.
-
-
Blog
-
 [BLOG] HubSpot Content Experience Accreditation 🏅 We're the Only HubSpot Content Experience Accredited Partner in CEE
 -
[BLOG] HubSpot Platform Migration Excellence 6Minded Wins HubSpot's Impact Award for Platform Migration Excellence
-
[BLOG] Elite HubSpot Solutions Partners 6Minded Joins 1% of HubSpot Partners as Elite Member
-
[BLOG] What Is HubSpot Accreditation? We're Now HubSpot Accredited! But What Does it Mean and How Does it Benefit You?
-
[BLOG] B2B Inbound Marketing Strategy The ABC of a High-impact B2B Inbound Strategy: A Guide for Beginners
-
[BLOG] Launching a New Website A 6-Minute Checklist to Teach You How to Launch a Website Successfully
-
[BLOG] Preparing Sales for CRM CRM Adoption and Sales Team Buy-in: Getting from ❌‘No’ to✔️‘Yes!’
-
[BLOG] Cost of HubSpot Website Learn The Price Components of a HubSpot Website And Avoid Traps!
-
See all blog posts

Fix +25 Website Mistakes And Boost Conversion In Minutes.
See how small website changes can make a huge difference to your sales and marketing.
-
-
Resources
-
[E-BOOK] 25 Quick Website Fixes Improve Your Website Results in Minutes with +25 Quick Copy and Design Changes
-
[E-BOOK] B2B Storytelling Guide Tell Your Tech Story Compellingly to Attract, Retain, and Engage More Clients
-
[GUIDE] Sales Blueprint Set Up Your B2B Sales Pipeline For Rapid Scalability with a FREE blueprint
-
[GUIDE] Data Migration Framework Import Multisource Data Into HubSpot With a FREE Step-By-Step Formula
-
[GUIDE] B2B HubSpot Development Guide Improve Your Online Visibility With an Actionable HubSpot Guide
-
[GUIDE] Social Media Strategy eBook Start Building B2B Social Media Presence With a FREE Social Media Strategy Guide
-
See all resources
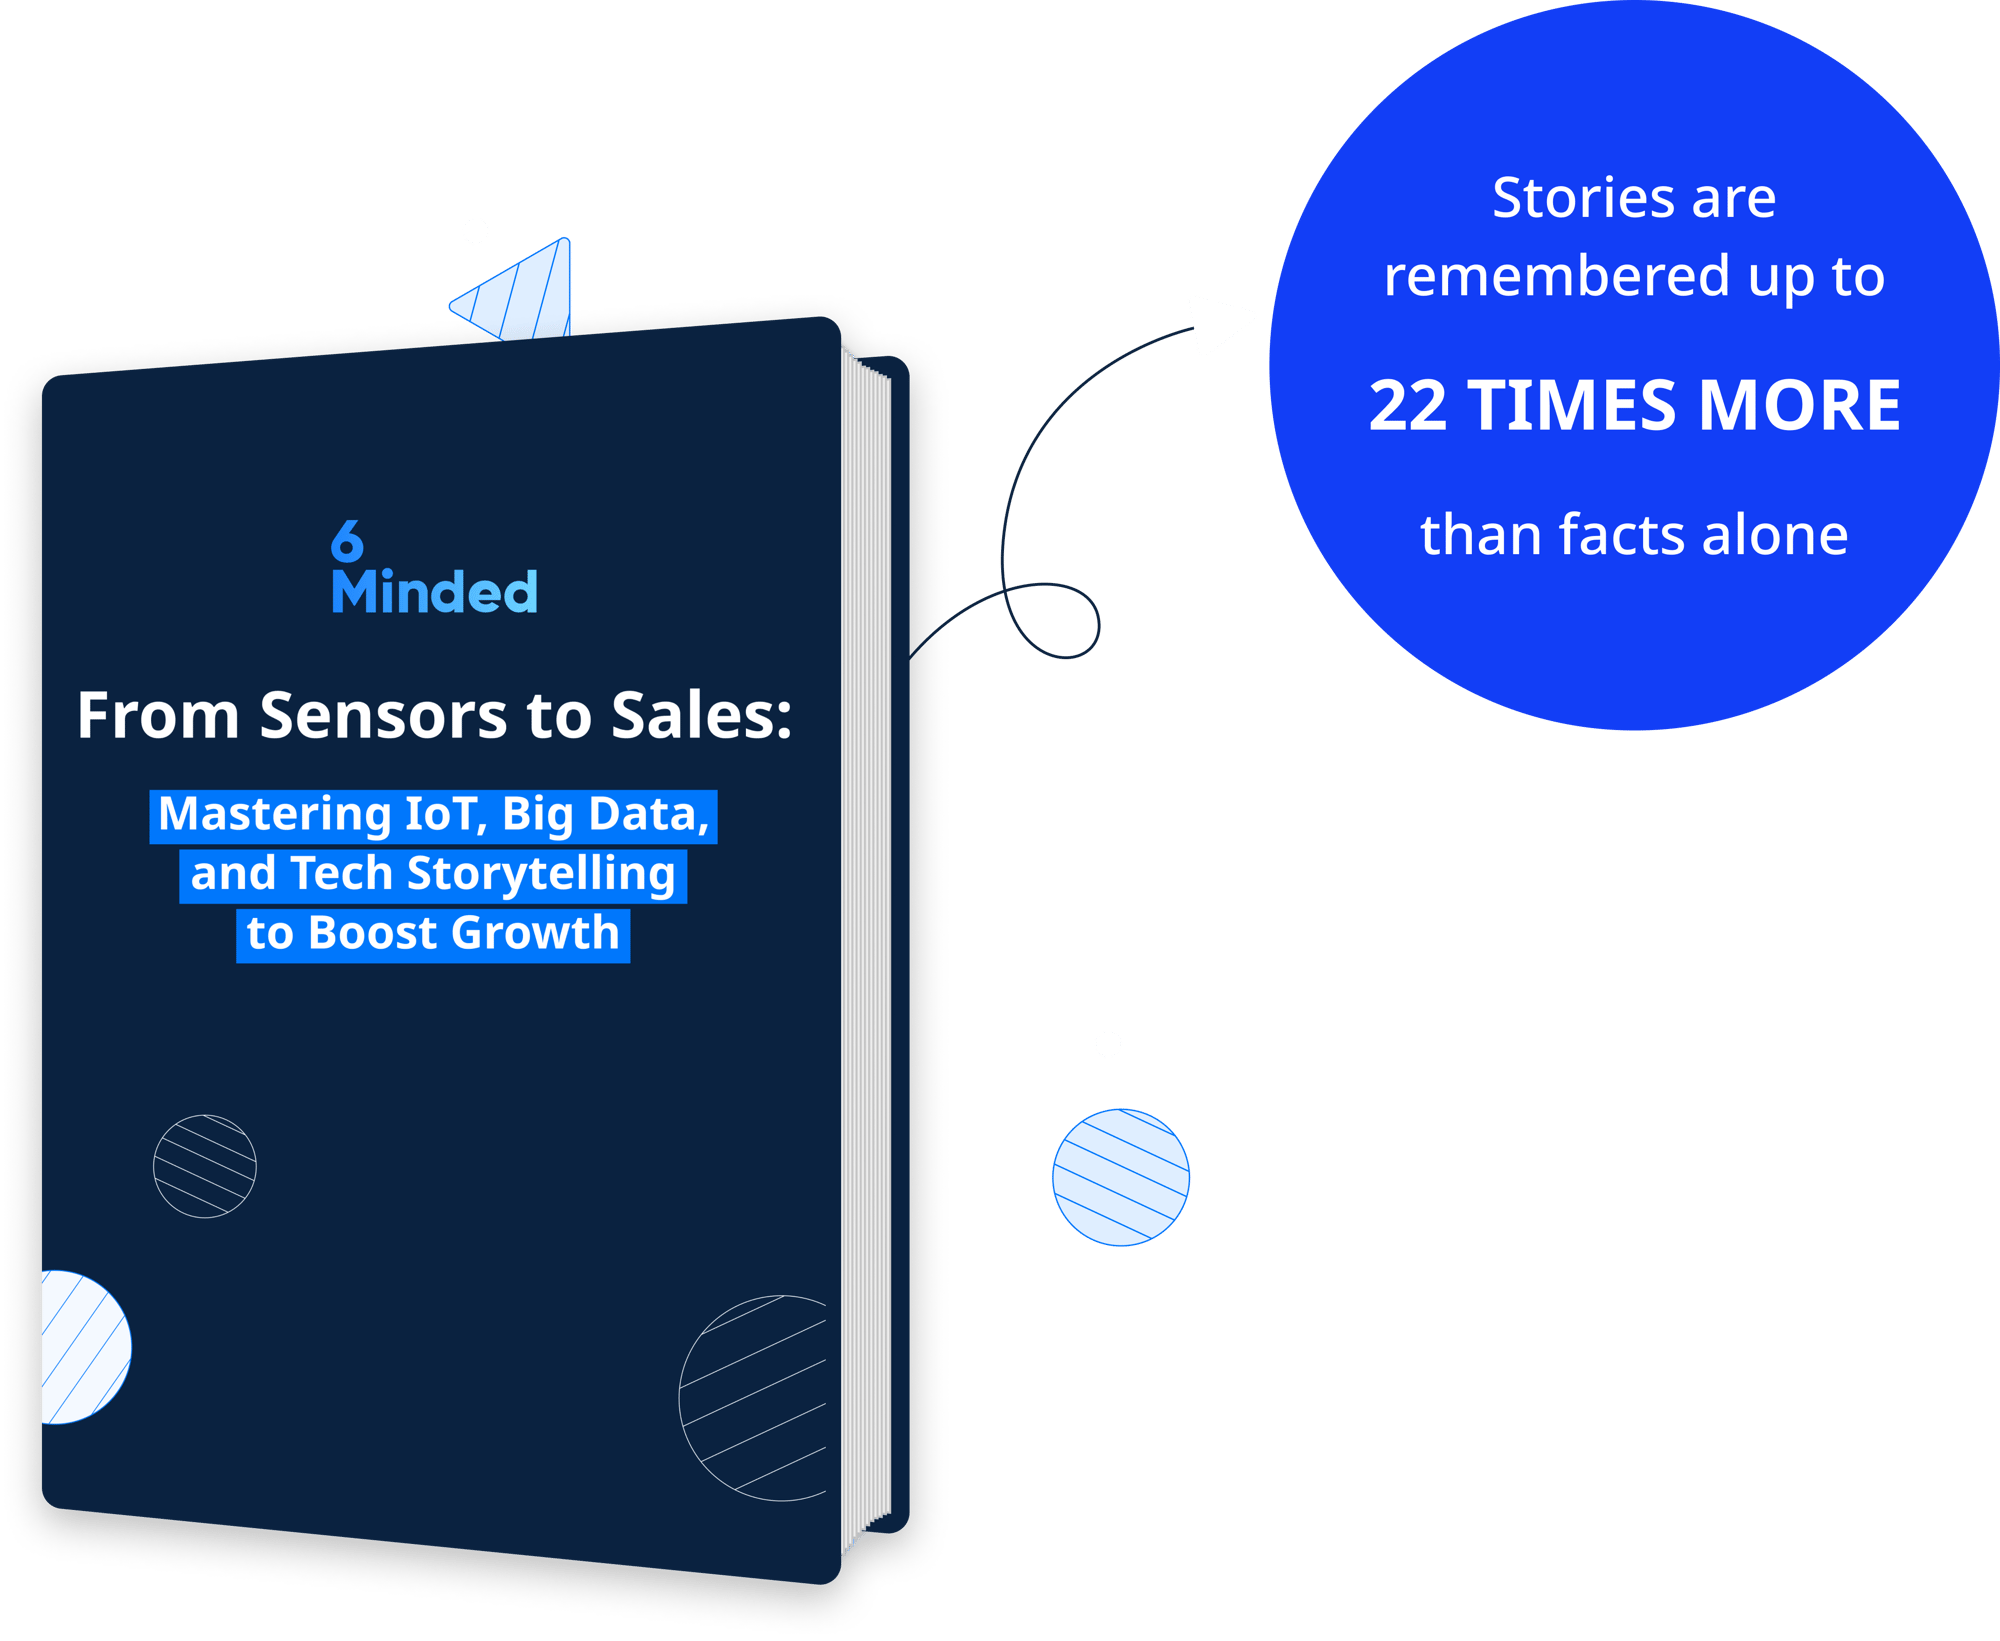
Turn Facts And Raw Data Into Relatable Stories That Make $$.
Take your B2B customers on a journey from exploration to conversion!
-